My studio is basically located in the centre of my condo, so appearance is important. Now it was the time to improve the looks of the parts not previously affected when I built a huge bass trap.
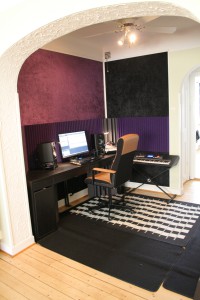
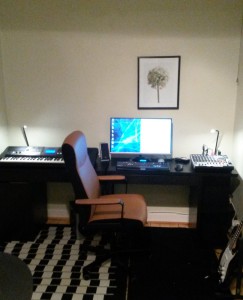 Initially, I only had a black desk, purchased at IKEA. While the first impression upon entering my condo was ok, as can be seen in the image to the right, I wanted to make the looks match all parts of the studio.
In a previous post, I described how I built a huge bass trap behind by drumkit at the back of the studio area.
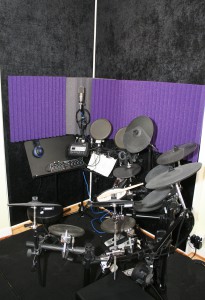
I started by building a second bass trap in the back corner where I have the drumkit. This trap actually had the primary purpose of absorbing mid- and high frequencies from the monitor speakers, since it was located on the wall which was the first reflection point for my right monitors. The bass absorbtion was secondary, since I already had my huge bass trap in the same corner. In the image, the left bass trap is the initial bass trap, and the right bass trap is the new one.
A nice side-effect, is that the corner works perfectly as a vocal booth as well. It has an astonishing absorption of vocal frequencies!
I actually built a third bass trap located on the opposite wall as well, mostly due to aesthetics, but it would fill a small cavity and also absorb first reflections from my left speaker.
Now, a black drumkit, on a black carpet, in front of two black bass traps is somewhat difficult to spot. It kind of reminds me of the Disaster Area stunt ship from the Hitchhiker’s guide to the galaxy.
The small grey t.Akustik CBT-37 bass trap is one that I originally bought, and the purple Auralex Acoustics tiles were leftovers from the front wall.
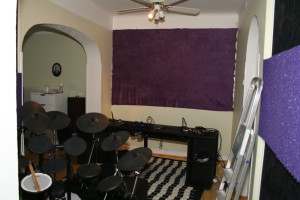
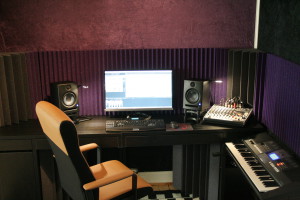
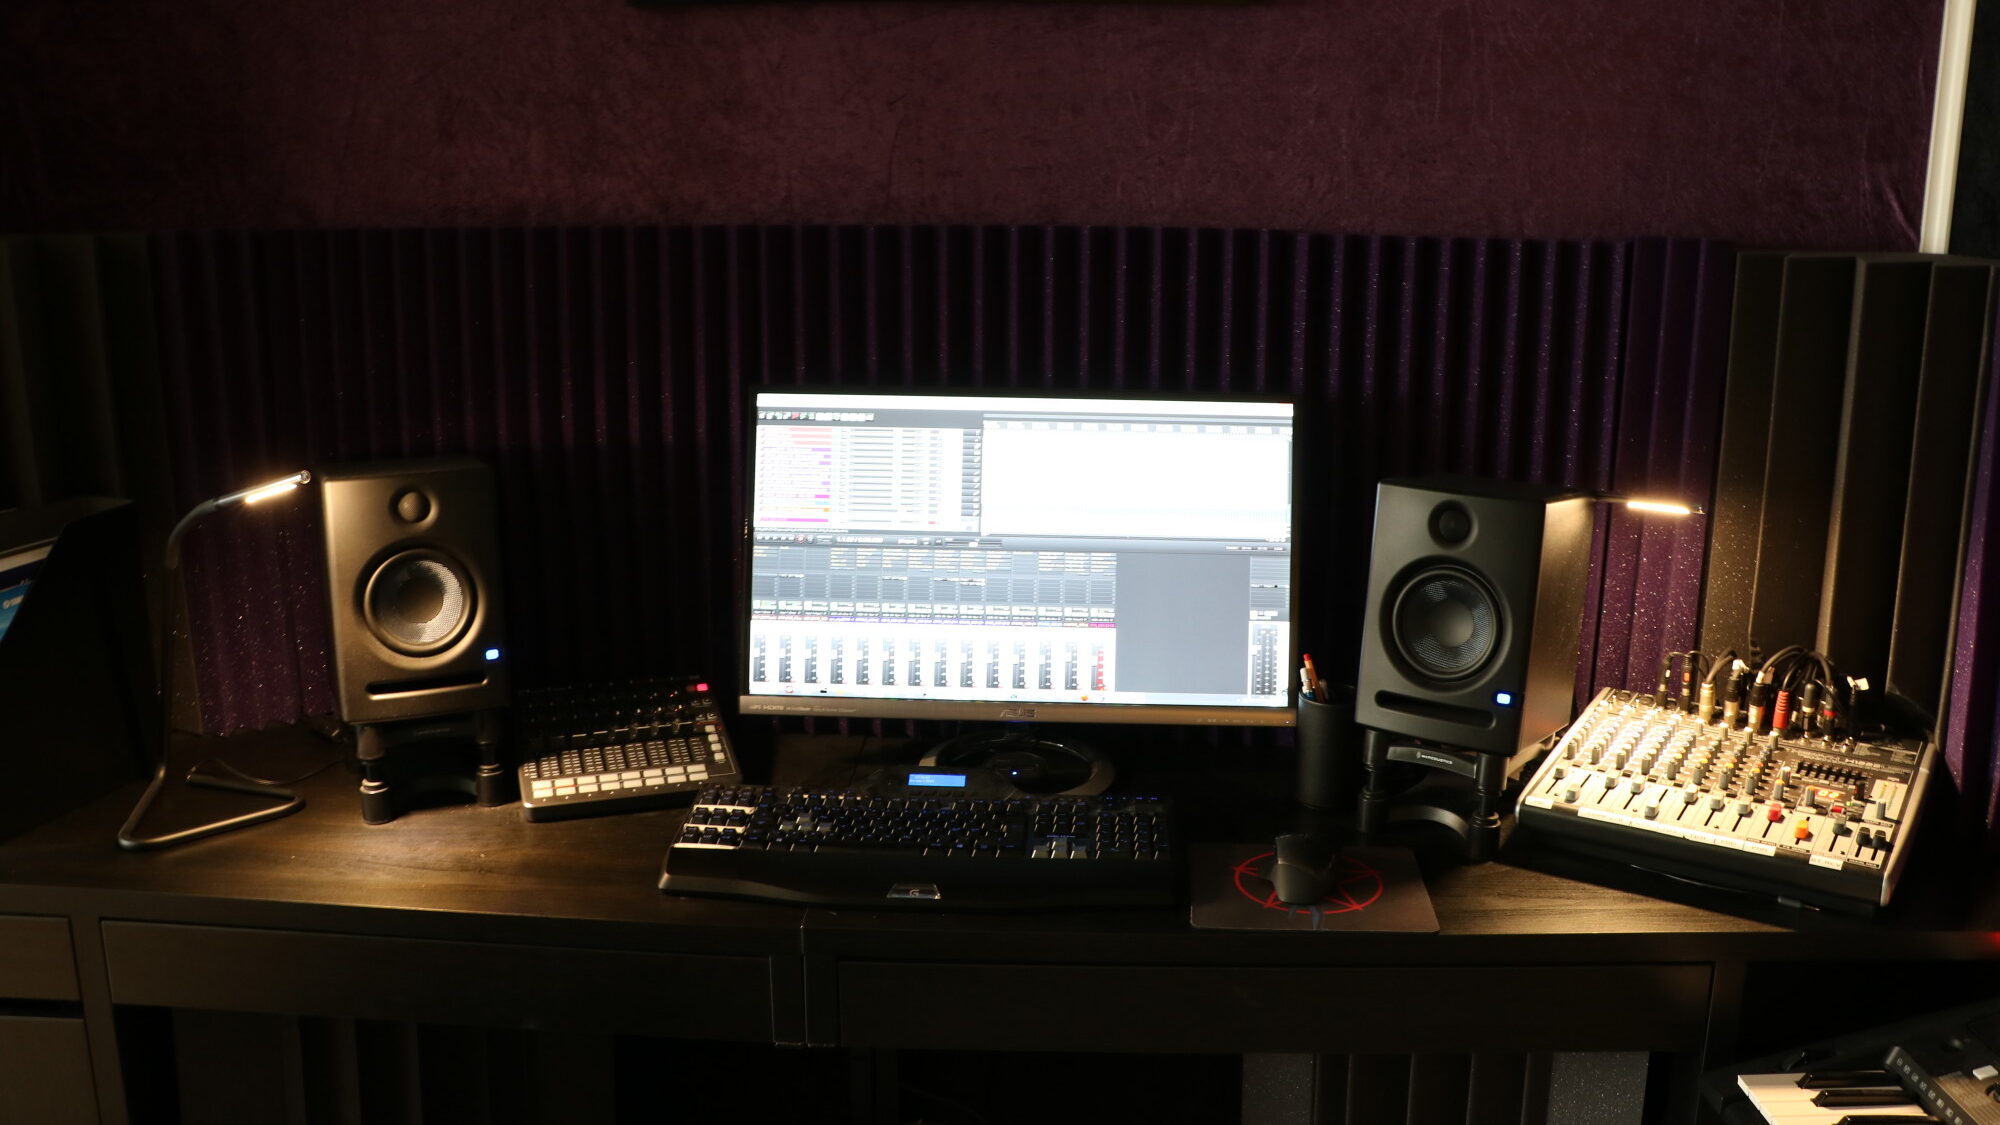
In order to prevent first reflections from the front wall, I wanted to put some acoustic materials behind the monitor speakers. Since the commercial foam materials seems to have similar acoustic properties, I chose to order purple 2″ foam. Space considerations prevented me from ordering the thicker 4″ foam. I also bought more crushed velour from Jysk, in a colour that roughly matched the foam. In order to make the front wall stand out in a pleasing way, I covered the (quite ugly green-painted) left and right walls with black velours, so they would match the bass traps.
I used carpet tape to fix the fabric against the concrete wall. I skipped the nails, since they were only needed to ensure the pressure from the insulation slabs wouldn’t cause the front and back of the bass traps to fall apart with time.
Just as when I fitted the fabric on the front of the bass trap’s frame, the edge fitting on the wall needed covering, just as I had anticipated. I mounted the same kind of pre-painted 21x8mm wood strips all around the edges of the fabric and in the inner corners as well.
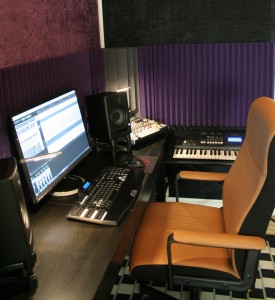 I had been worried that it would be difficult to fix the acoustic tiles against the wall, but much to my surprise, the velours acted as velcro against the tiles!
After the huge bass traps had been built, it were easier to identify which corners needing treatment.
So, I combined the purple tiles, with two t.Akustik bass traps – one in each corner of the desk. Then I attached tiles onto the black fabric above the keyboard as well. I also located two t.Akustik bass traps under the desk as well.
Initially, I had planned to use the tiles as-is, but since I had to cut a little on the back of the bass traps to fit cables etc., I realized cutting the material was really easy. Using a ruler and a carpet knife, I cut the tiles to perfectly fit all over the room.
The packet of tiles contained way more tiles than I needed for the front wall treatment, so I simply put the rest against the back side walls, despite I knew the bass traps themselves absorbed all reflections. It was a decision completely based on aesthetics.
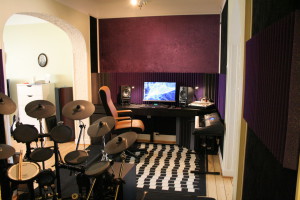
Conclusion:
All in all, the complete treatment including the parts only intended as decoration, cost roughly €800 – i.e. just a tad more than what would have been needed for bass traps alone. The result is much more pleasing for the eye, and acoustically, it sounds great in the mixing position!
Leave a Reply